
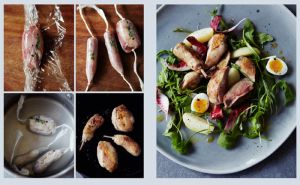
Fig & Lentil Salad from Virtually Vegan
Summer and salad go hand-in-hand and this offering from Heather Whinney’s Virtually Vegan is a fresh, sweet, figgy take on a summertime staple. Complete with a harissa

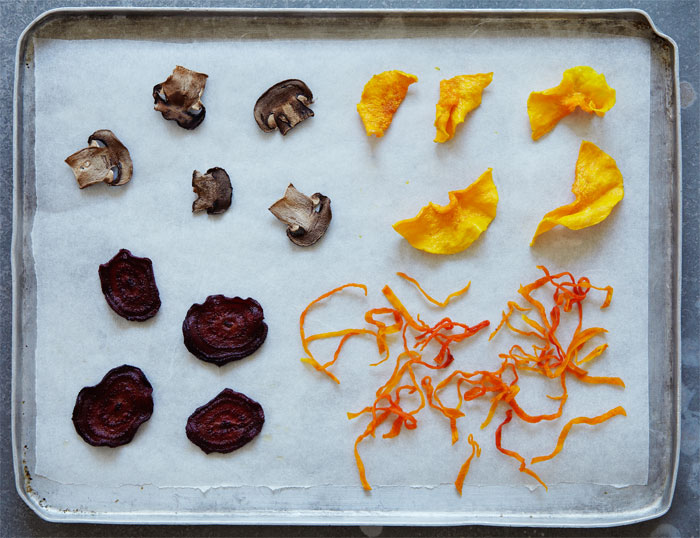
Michelin-starred chef Daniel Galmiche shares tips and techniques from his new recipe book Revolutionary French Cooking, so you can create easy and delicious dehydrated foods in your own home – including some delicious pumpkin crisps.
‘Intensity of flavour has to be the number one reason for dehydrating foods. Although, of course, it originated in ancient times as a simple but effective means of preserving foods through the lean winter months, now it’s more about the fact that taking out the water not only means bacteria can’t grow, it also produces some radical transformations, concentrating both taste, texture and goodness. Plus, it still means you don’t have to waste any seasonal gluts but can instead easily transform all kinds of foods into handy storecupboard items, from fruit strips that make a great lunch-box snack to dried mushrooms to sprinkle into a risotto to intensify the flavour.
In the kitchen at my restaurant, The Vineyard, as in many professional kitchens, we often use dehydrators. A subtle, sweet celery leaf sprinkled with sugar can become as transparent and fragile as glass to finish a terrine. Slices of pancetta, gently oven-crisped, then finished in the dehydrator, are perfect crumbled over a pea velouté, roasted poultry, risotto or even roast pork. A few blanched, dried mushrooms can be blitzed to a dust to flavour soup or an oeuf en cocotte.
Dehydrating is easy, costs virtually nothing, needs no special equipment – and still gives you a huge range of flavoursome and densely textured treats to enjoy!
You don’t need a commercial dehydrator to dehydrate food, and you don’t need to live in the land of eternal sunshine either – though wouldn’t that be nice! In our house back in France, drying ingredients was a seasonal affair. Every autumn, wooden boxes lined with newspaper would appear in the boiler room, perched on the top of the boiler, and gradually be filled with our harvest of mushrooms. The boiler room was always the warmest part of the house. Not surprisingly, our dogs soon realized this and selected it as their winter bedroom – sensible creatures!
Newspapers, by the way, are ideal for absorbing moisture from drying foods and I still use them today. I dry foods in my glass greenhouse – the sun’s heat on the enclosed space dries foods such as tomatoes perfectly. I also dry herbs, especially basil and tarragon, and use them to flavour oils, but I do that in the microwave. Just spread out the separate leaves on a sheet of kitchen paper, lay another sheet on top, then microwave on High for three or four 30-second bursts, watching carefully.
Mostly, however, I dry foods in my ordinary oven on a very low setting. I usually make use of the time control, then I can just leave it alone to do its own thing for long periods without interruption. It’s quicker to dry food in an oven than by sun-drying or even using a dehydrator, and you only need a couple of oven trays and a thermometer. It’s true you can only make small quantities in an oven, but I think that can be an advantage. It means you can experiment with plenty of different foods and there’s no risk of making the effort to dry a large quantity of something you later decide you don’t like!
You can dry most foods, apart from those with a high water content, such as cucumbers, as they are likely to spoil before the process is finished. Fruits tend to go crisp more quickly than vegetables, but you can dry most things in 8–12 hours. Good vegetables to start with are onions, garlic and peppers. For fruits, try apples, peaches, apricots or pears.
1. Only fresh, good-quality food will give the best results. Wash it, then pat dry with kitchen paper.
2. Prepare the food as though you were cooking it, so you might peel and core an apple, remove the stone from a plum, trim the fat off meat. Then leave them whole, or cut into thin slices or strips.
3. For foods like apple that tend to go brown, add ½ tablespoon of vinegar or lemon juice to 250ml/9fl oz/1 cup of water, then dip the slices as you cut.
4. Blanch hard fruits or vegetables in a saucepan of boiling water for a few seconds, then refresh in iced water and pat dry.
5. Fruits like apples, peaches and rhubarb will keep their flavour if you poach them first in a light syrup.
6. You could marinate meats in olive oil and vinegar, then toss with seasonings before dehydrating.
7. Put food in a single layer, not overlapping, on a lined baking sheet or a wire rack in the oven (or the racks in your hydrator). Put a drip tray under meat. Items with similar drying times can be mixed on a rack.
8. Switch on the oven to 45–70°C/115–150°F/gas ¼ or less, depending on the recipe. If your oven doesn’t go below 70°C/150°F/gas ¼, don’t worry. Set it to its lowest temperature but leave the oven door slightly open, enough for the air to circulate and keep a constant temperature.
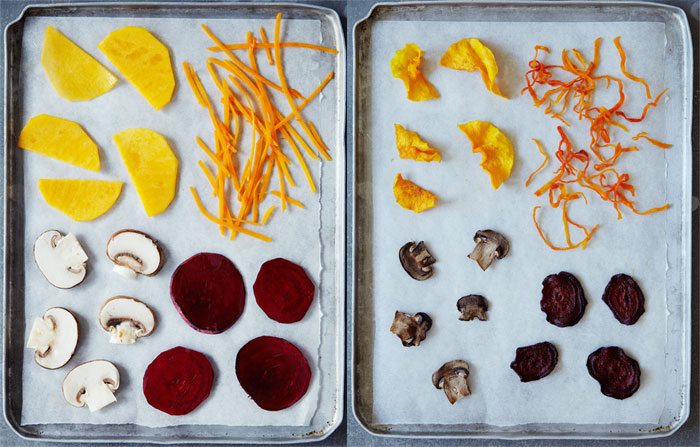
9. Turn the tray every 30 minutes or so if you can until the food is completely dry. That will be about 4–5 hours for beetroot, onions and peppers; 6–8 hours for garlic; 8–10 hours for apples, mushrooms and pears; 10–12 hours for apricots, peaches and potatoes.
Most dried foods will last well, so keep them in sterilized airtight jars in a cool, dark, dry place – then you can enjoy intriguing your friends at your next dinner party.
This makes an easy introduction to drying so do have a go at making this delicious sprinkle for your next risotto.
Start by preheating the oven to 70°C/150°F/gas ¼ and lining a large baking sheet with baking paper. Then, simply grate the flesh of 100g/3½oz of peeled butternut squash or pumpkin into long spaghetti-like strips straight over the baking sheet. Bake for 4½ hours, turning halfway through. The strands will stick together in a net-like shape and go dry and crisp. Simply break them over the dish to serve. They’ll keep in an airtight container for up to a month.
Follow the same recipe using strips of grated carrot or parsnip for delicious versions of the crisp. Or why not try making a batch of each and breaking a colourful selection to finish off your dish.
Continue to master contemporary French cuisine with Daniel Galmiche’s Sous-vide Masterclass, and show off some cheffy skills to your friends and family!

£19.99
Order now with free UK postage
Summer and salad go hand-in-hand and this offering from Heather Whinney’s Virtually Vegan is a fresh, sweet, figgy take on a summertime staple. Complete with a harissa
Too Good to Waste by Victoria Glass is THE guide to getting the very most out of your food, in the most delicious way possible! So much

Today we’re sharing a much coveted Real Bread: Slow Dough recipe – Cinnamon and Hazelnut Knots! These sweet knots are beloved all over Scandinavia, whip
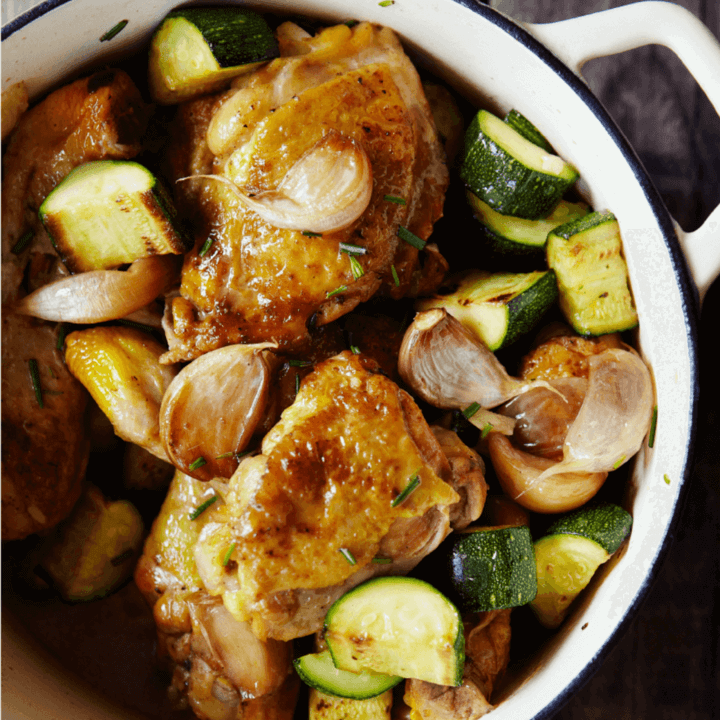
We’re gearing up for the publication of French Countryside Cooking by Daniel Galmiche, coming your way on May 14th (pre-order your copy right here)! To celebrate, we’re sharing
