Tag Archive for: dairy free

Easter is coming up soon and boy, do we have the recipe for you! Taken from the Ultimate Gluten Free, Dairy Free Collection by Grace Cheetham, feast your eyes on this gorgeous 
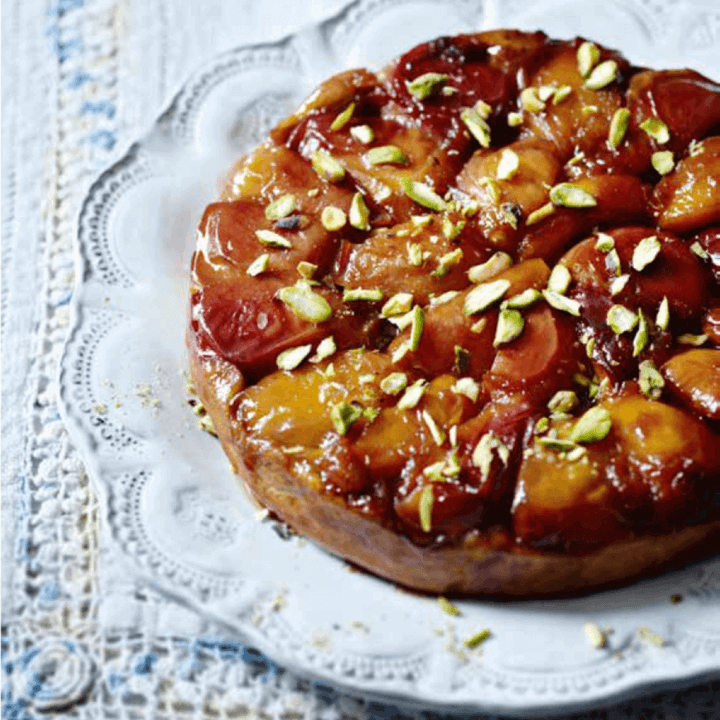
Peach & Pistachio Tarte Tatin – sweet, fresh and oh so perfect for an Easter treat!


Taken from the Ultimate Gluten Free, Dairy Free Collection


*Gluten Free – Dairy Free – Vegan

SERVES 6
PREP 10 minutes, plus making the pastry
COOK 55 minutes

Ingredients
75g/2¾oz/5 tbsp dairy free margarine
100g/3½oz/½ cup packed light brown sugar
6 peaches, stoned and quartered
unsalted pistachios, shelled and chopped, for sprinkling

Sweet Shortcrust Pastry Mix
75g/2¾oz/heaped ⅓ cup brown rice flour
40g/1½oz/scant ⅓ cup maize flour
35g/1¼oz/⅓ cup gram (chickpea) flour
1 tsp xanthan gum
50g/1¾oz/½ cup ground almonds (substitute fo 50g/1¾oz/½ cup finely ground shelled, unsalted pistachios)

Method
1 Gently heat the margarine in a 20cm/8in heavy-based oven-proof frying pan until melted. Sprinkle the sugar over, then arrange the peach quarters in the pan in one layer. Cook over a gentle heat for 20–30 minutes until the peaches are soft and golden and the liquid has caramelized. Remove from the heat.

2 Preheat the oven to 220°C/425°F/gas 7. Liberally dust a chopping board with sweet shortcrust pastry mix and, using a rolling pin, gently roll out the pastry to a round that is slightly larger than the frying pan. Be careful as the pastry will still be slightly sticky. Trim the pastry neatly into a circle with a sharp knife, then carefully lift or ease the pastry with a spatula and place it on top of the frying pan, completely covering the peaches and tucking the excess down the side of the peaches, if you need to.

3 Transfer the pan to the oven and bake for 20–25 minutes until the pastry is golden. Remove the tart from the oven and leave to cool in the pan for 2 minutes. Place a serving plate, upside down, over the top of the pan, then, holding the pan and plate together, turn them over so that the tart turns out onto the serving plate with the caramelized peaches on top. (Be very careful and use oven gloves as the pan will still be very hot.) Liberally sprinkle over the chopped pistachios. Serve warm or cold.

Very happy baking! Tag us @NourishBooks so we can see your creations!

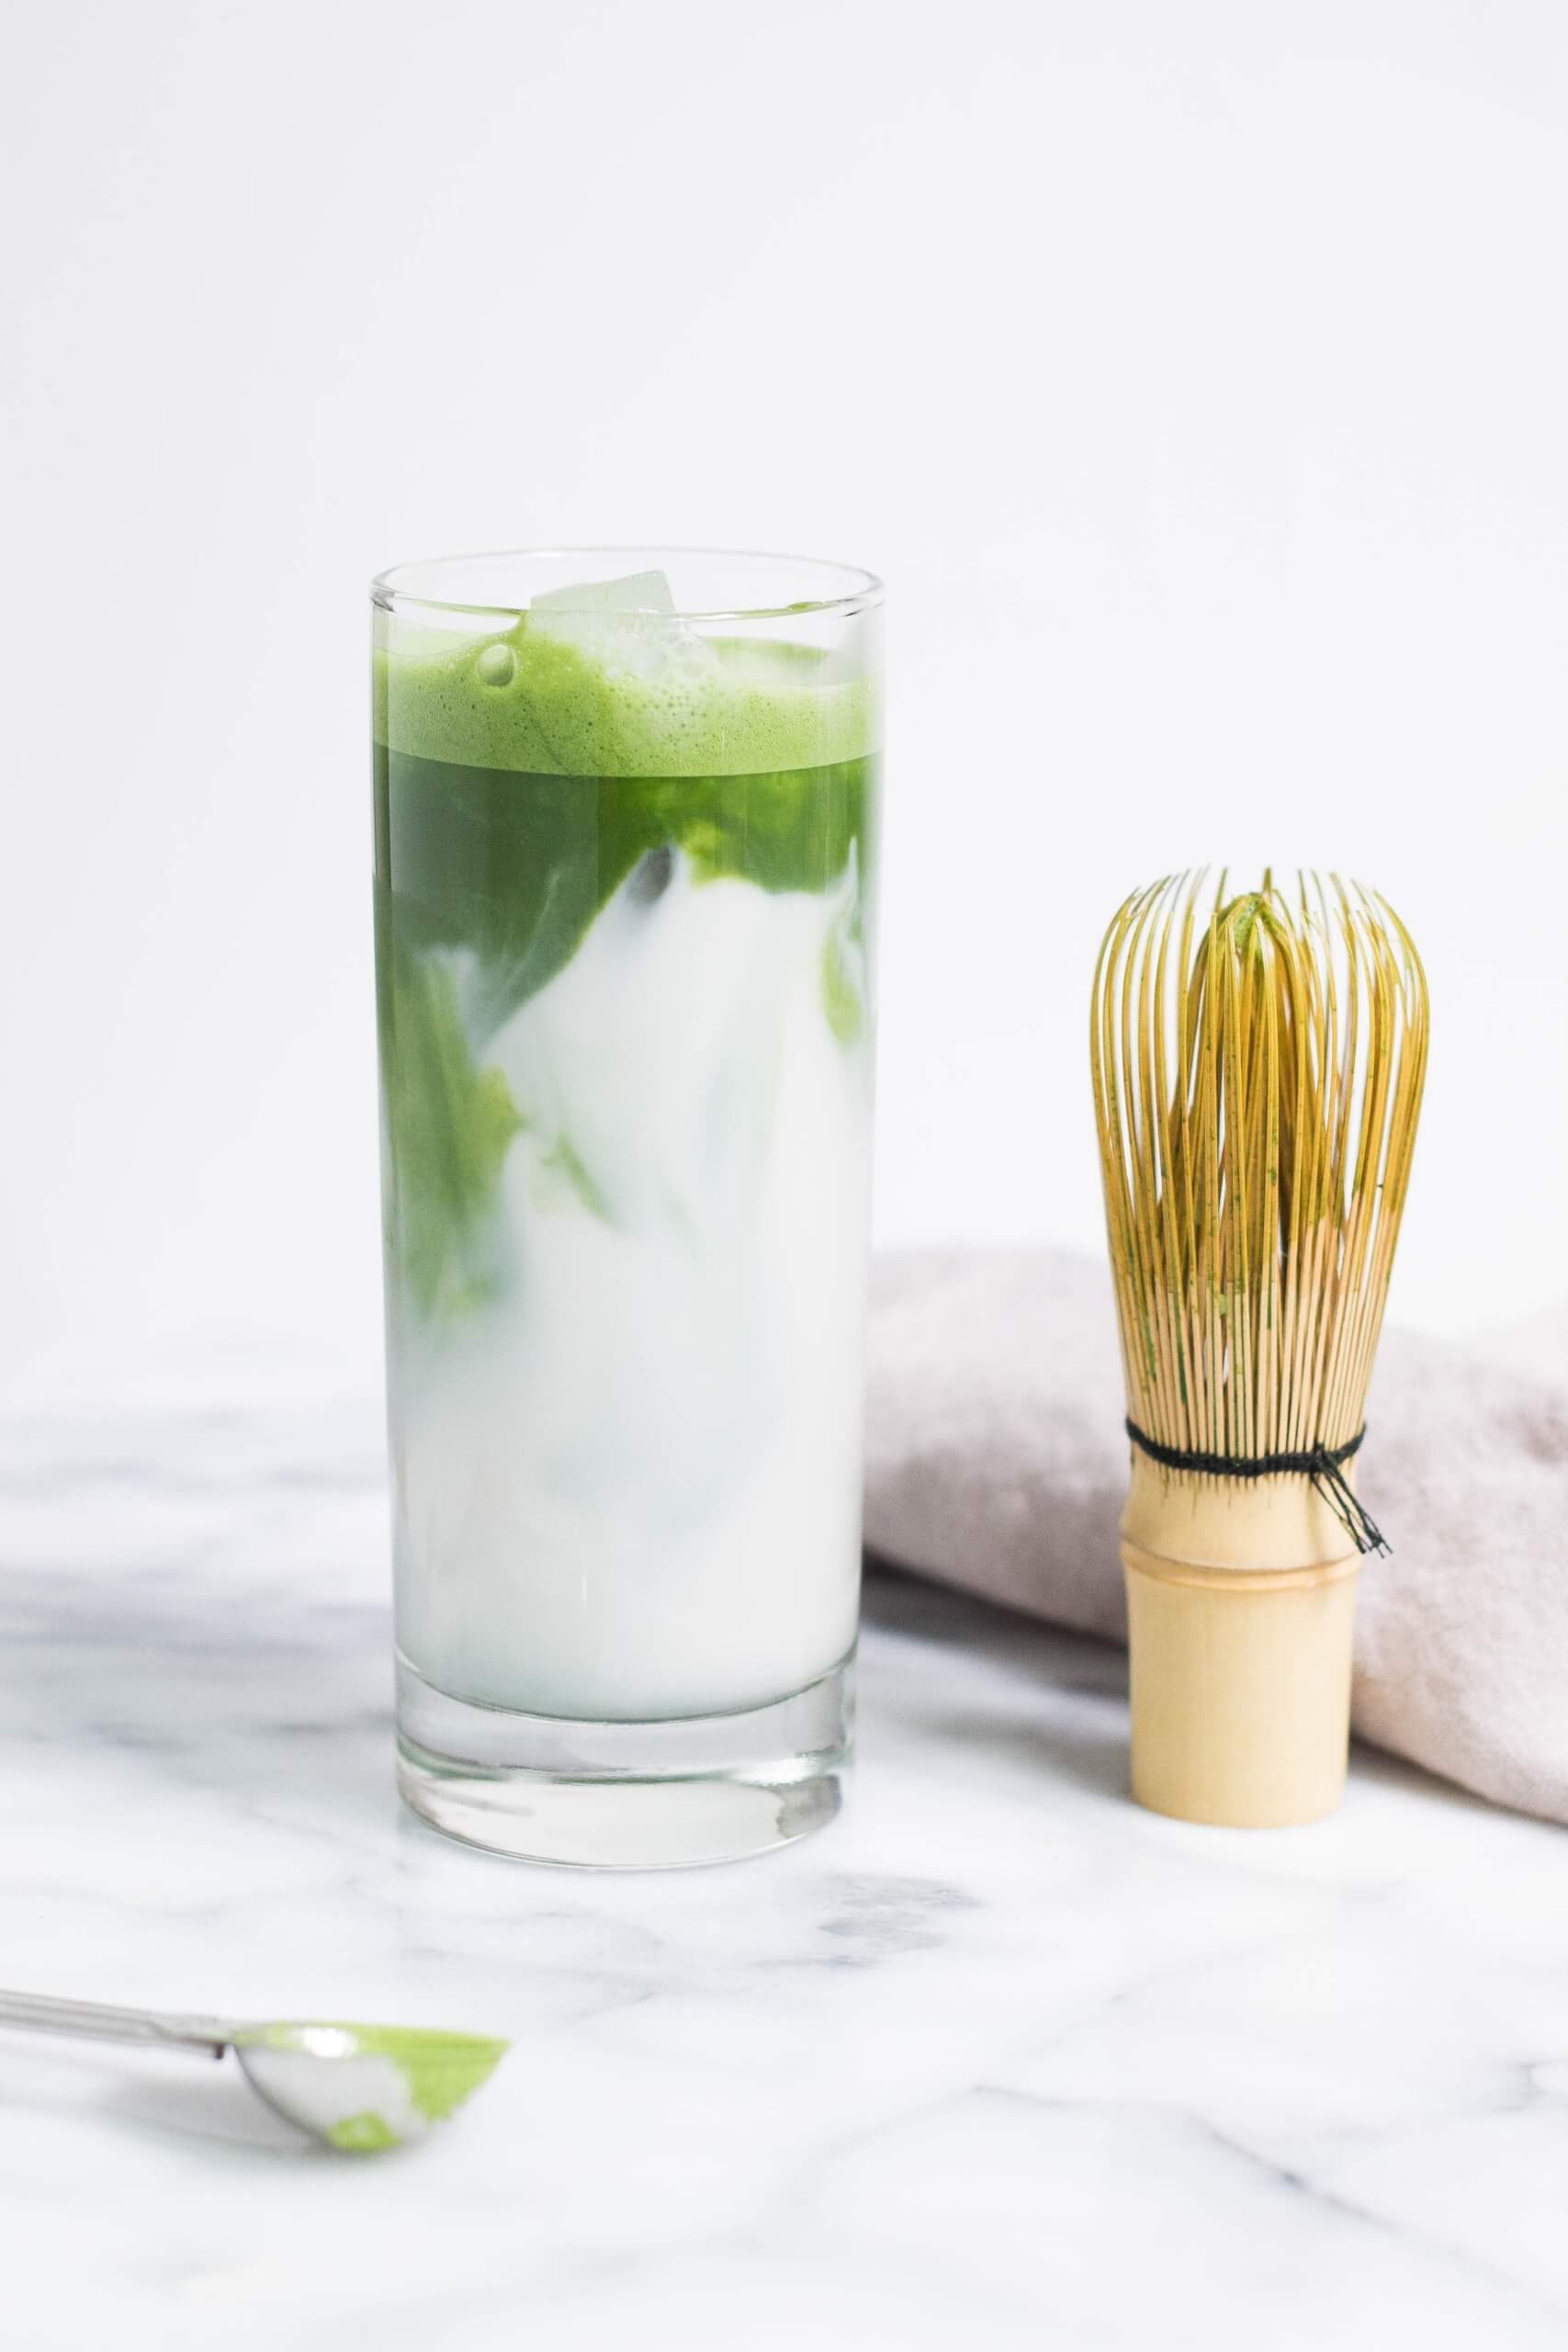
Matcha is the fine green tea powder, packed with antioxidants, that’s taking the world by storm! It’s combination of endless health benefits, and delicious subtle flavours is quickly making this miracle ingredient a staple for foodies around the world. From smoothies to salads, main meals to munchies, there’s more to matcha than just another cup of tea. So to help you discover how you can pack your diet with the power of green tea, we’ve selected three of our favourite recipes from Joanna Farrow’s Meet Your Matcha.

Kedgeree with Matcha Butter
This is a recipe for matcha lovers everywhere! Serve the matcha butter atop the hot veggie rice so it melts in deliciously.

Serves: 4, prep: 10 minutes, cook: 25 minutes

Ingredients:
250g/9oz/1 1/4 cups brown
or white basmati rice
4 medium eggs
10 cardamom pods
65g/2 1/2oz/1/4 cup softened
slightly salted butter
1 tsp matcha
1 bunch of spring onions/
scallions, thinly sliced
100g/3 1/2oz/3/4 cup petits
pois or baby broad beans,
thawed if frozen
3 tbsp chopped fresh parsley
1/2 tsp ground tumeric
sea salt and freshly ground black
pepper
lime wedges, to serve


Method:

  1. Cook rice in plenty of boiling, lightly salted water for 10-15 minutes or until tender. Lower the eggs into a separate pan of gently simmering water and cook for 7 minutes. Drain the rice and eggs. Peel away the shells from the eggs. Crush the cardamom pods using a pestle and mortar. Pick out and discard the empty pods and lightly crush the seeds.
  2. Beat 40g (1 1/2oz) of the butter in a small bowl with the matcha. Heat the remaining butter in a frying pan and gently fry the spring onions/scallions for 2 minutes. Stir in the rice, peas or beans, cardamom, parsley, turmeric and a little salt and pepper, and mix well over a gentle heat for 3 minutes.
  3. Quarter the eggs, add to the pan and cook for a further 2-3 minutes to heat through. Transfer to warmed serving plates and spoon the matcha butter on top. Serve with lime wedges.

TIP! Nothing brings out the rich matcha flavour quite like butter. Any leftover matcha butter is lovely spread on toast, used for topping baked potatoes or stirred into rice. It’s definitely worth making double the quantity.


Rack of Lamb with Matcha and Pistachio Crust
Pretty pistachios and matcha make a crispy crust for simple roast lamb. Serve with traditional roast potatoes or buttered, steamed baby potatoes and a side of seasonal greens.

Serves: 2-3, prep: 10 minutes, cook: 30 minutes

Ingredients:
25g/1oz/2 tbsp butter
2 shallots, finely chopped
2 garlic cloves, crushed
1/2 tsp finely chopped fresh
rosemary
25g/1oz/1/4 cup pistachio
nuts, skinned if liked (see tip)
25g/1oz white bread, torn
into pieces
1 tsp matcha
sea salt and freshly ground
black pepper
1 French-trimmed rack of
lamb, 6-7 ribs
150ml/5fl oz/2/3 cup of
lamb stock
100ml/3fl oz/scant 1/2 cup
red wine
1 tbsp light muscovado/
brown sugar

Method:

  1. Preheat the over to 220C/425F/gas 7. Melt the butter in a small saucepan and gently fry the shallots, garlic and  rosemary for 2 minutes.
  2. Blend the pistachio nuts and bread in a food processor until finely ground. Add the matcha, the shallot mixture and a little salt and pepper, and blend to combine.
  3. Place the lamb in a small roasting pan, skinned side up, and pack the matcha mixture on top. Roast for 25 minutes if you prefer your lamb still pink in the middle, or an extra 10 minutes for well done. Transfer to a board and keep warm while you make the gravy.
  4. Add the stock, wine and sugar to the roasting pan,and bring to the boil, stirring. Boil for a few minutes until slightly reduced. Carve the lamb between the ribs and serve with the gravy.

TIP! Skinning pistachio nuts isn’t essential, but it does bring out their emerald greeness! Place the nuts in a bowl, cover with boiling water and let stand for 30 seconds. Rinse and drain. Rub between paper towels to loosen the skins, peeling away any that remain with your fingers.


Dairy-Free Green Tea Popsicles
For vegans as well as those avoiding dairy products, these popsicles have a great milky consistency and plenty of flavour. They are the perfect green tea treat for lazing on a summer’s afternoon – or as a good-for-you dessert. 

Makes: 8-10 popsicles, prep: 5 minutes, plus freezing

Ingredients:
1 ripe banana
1 1/2tsp matcha
350g/12oz/1 1/3 cups
dairy free coconut yoghurt
100g/3 1/2oz/scant 1/2 cup
agave nectar or coconut
blossom nectar
100ml/3 1/2fl oz/scant
1/2 cup oat or rice milk
1 tbsp lemon juice


Method:

  1. Break the banana into pieces and add to a food processor. Add the matcha and blend to form a smooth puree.
  2. Add the yogurt, agave nectar or coconut blossom nectar, milk and lemon juice, and blend again until completely smooth, scraping down any mixture that clings to the side of the bowl.
  3. Transfer to a jug and pour into ice-cream moulds. You’ll probably have enough mixture to fill 8-10 moulds. Push a wooden lolly/ice cream stick down into the middle of each and freeze for several hours until firm.
  4. To serve, run the moulds under hot water until you’re able to pull the lollies out of the mould

Enjoy your matcha inspired dishes and take comfort in the knowledge that not only are you eating delicious food, but you’re also loading your body with anti-oxidising goodness!


Joanna Farrow is a food writer and stylist with a flair for food that does you good. She has worked as a freelance writer for several food magazines including BBC Good Food. Her previous books include Great British Bake Off: Bake It Better, 30-minute Vegetarian, Good Fast Family Food and Ready Steady Cook for Kids. Joanna’s new book Meet Your Matcha is available now. For further information visit her website.

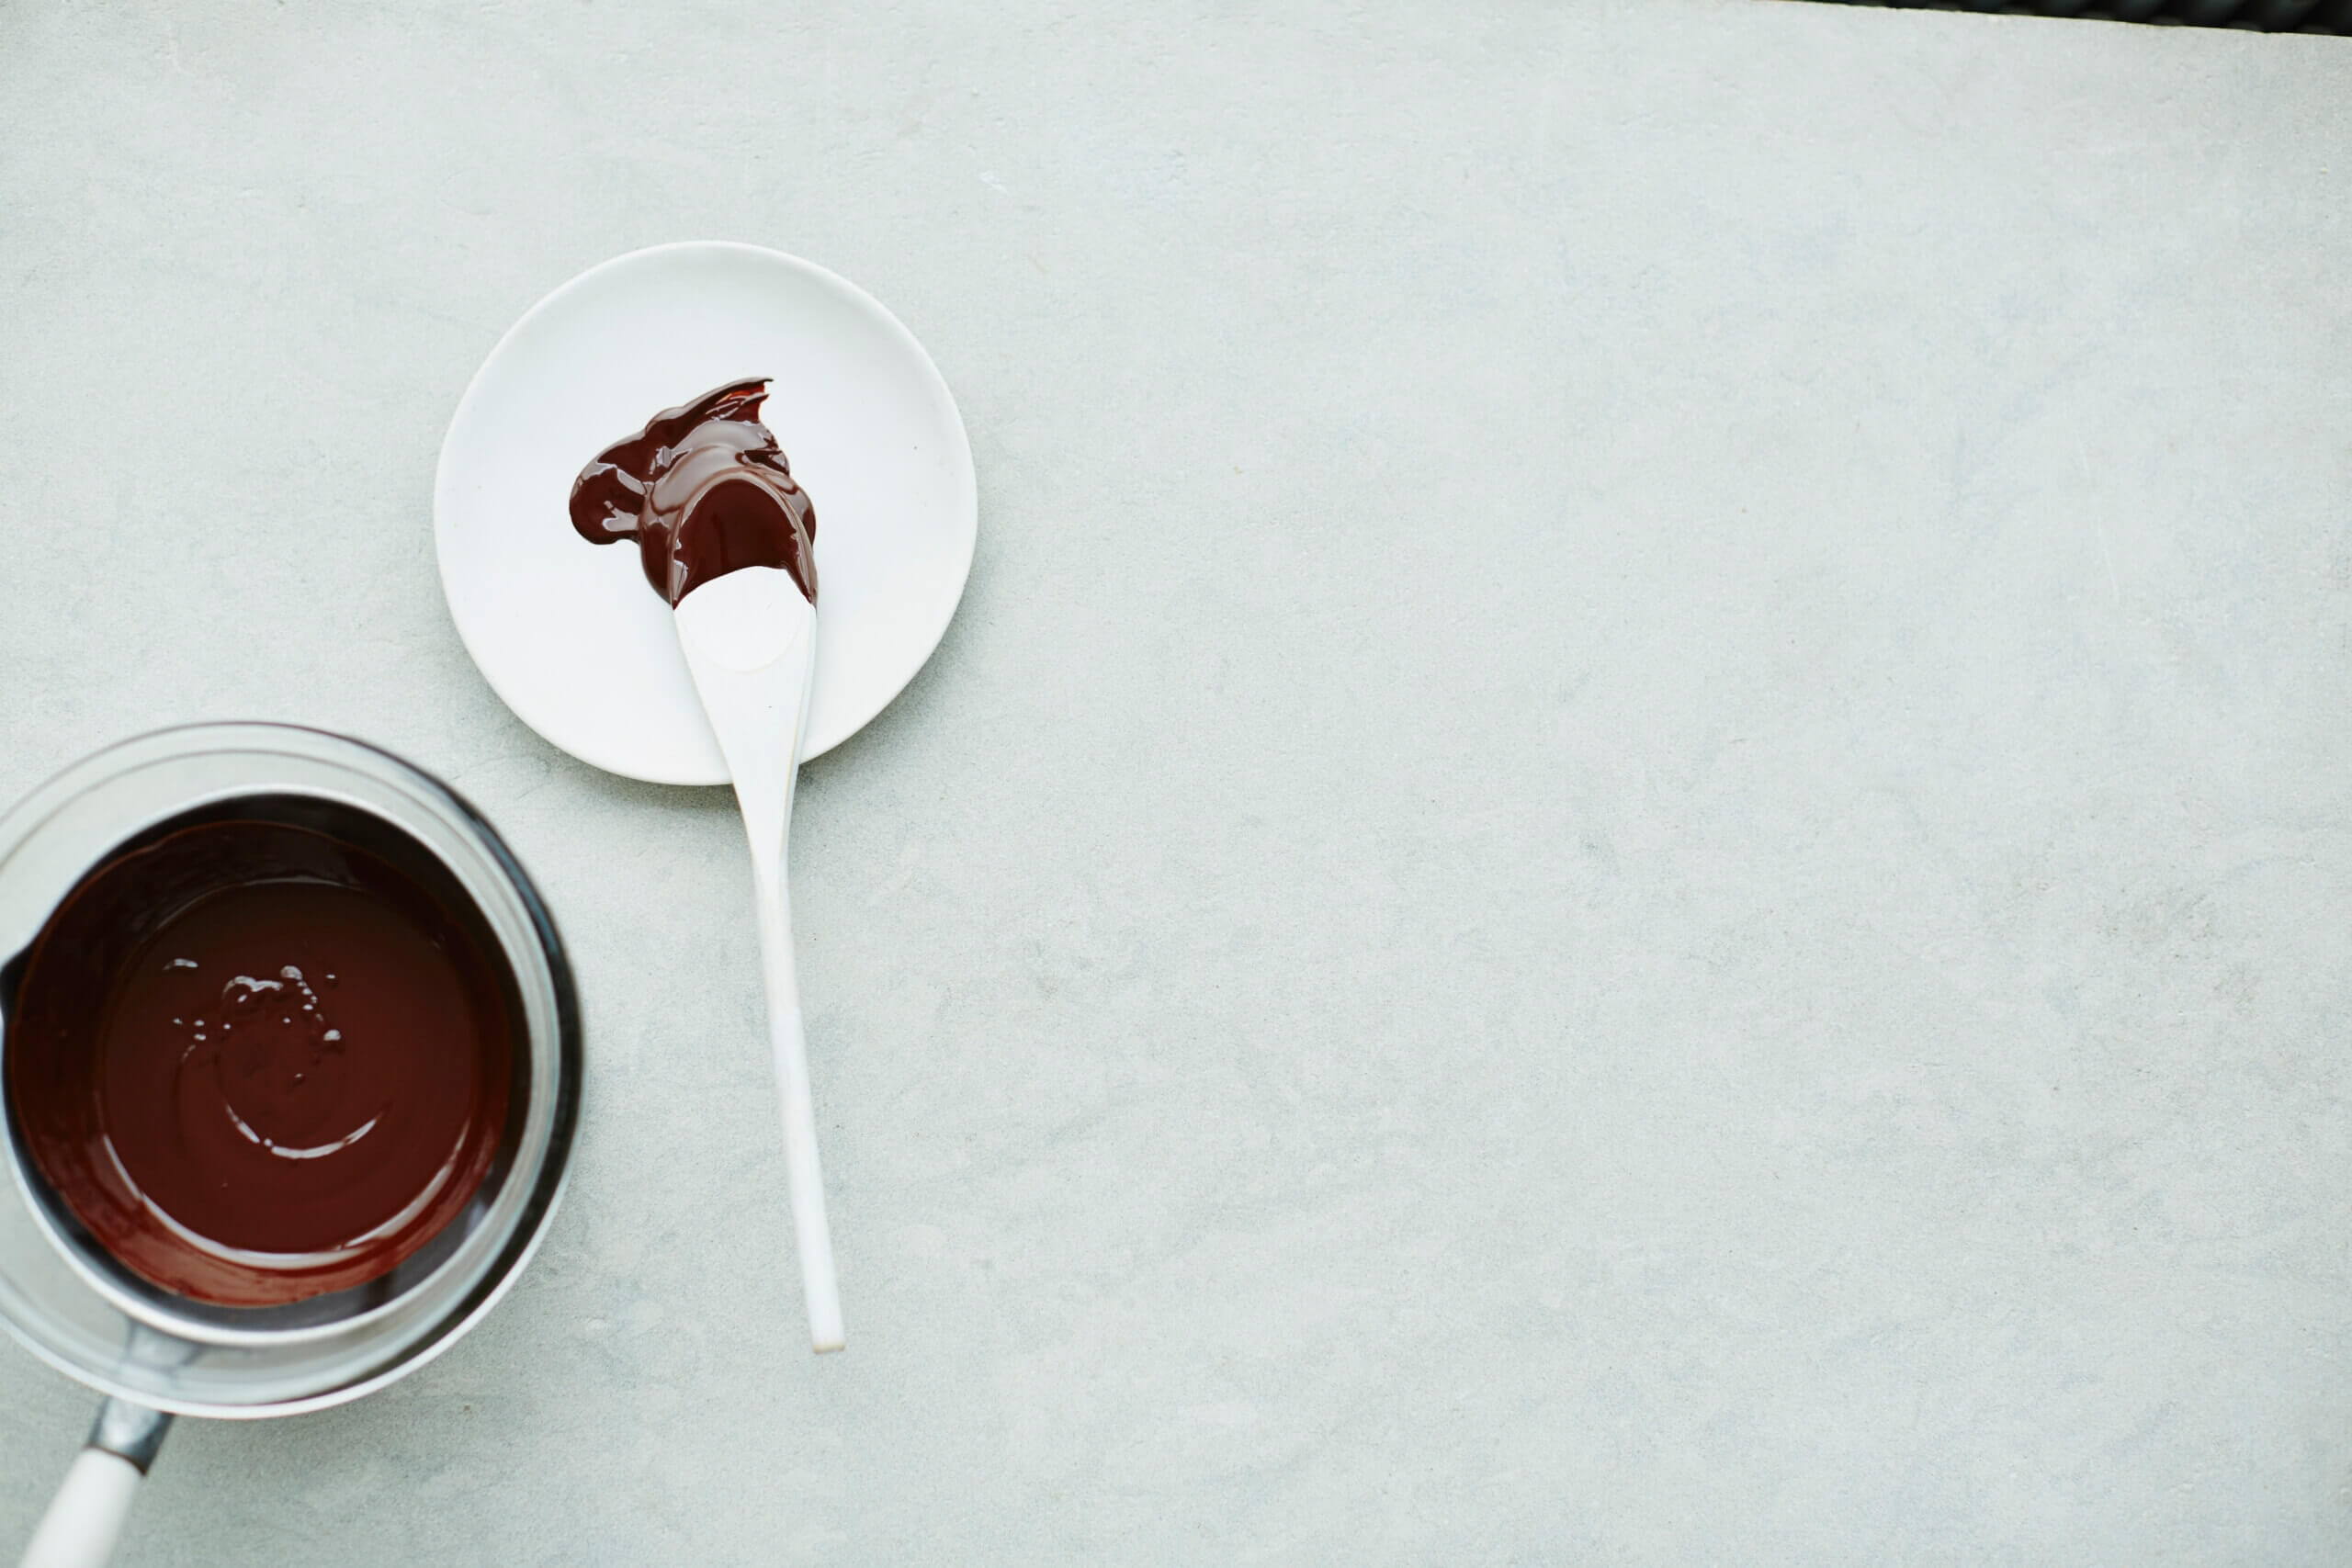
Looking for something different and guilt-free for Easter? Look no further than these Chocolate Cupcakes with Avocado Frosting.

Perfectly light and moist – a great alternative to the heavier Easter treats around. Using avocado in icing might sound strange, and I suppose it is a little strange, but surprisingly it works! And they’re egg and dairy free so even your vegan friends can enjoy a treat at Easter!

Have a look at our Publicity Assistant, Gemma, making up her batch at home:

The Recipe, in black and white

Makes 24 mini cupcakes (12 servings)

Per serving:
Fat: 4.5g (of which saturates: 0.8g)
Calories: 111kcal
Preparation time: 30 minutes
Cooking time: 12 minutes

For the chocolate cakes:
240ml/8fl oz/scant 1 cup almond milk, plus extra for the frosting
1 tsp cider vinegar
185g/6½oz/heaped ¾ cup granulated sugar
3 tbsp sunflower oil
1 tsp vanilla extract
½ tsp almond extract (optional)
250g/9oz/2 cups self-raising flour
30g/1oz/ ⅓ cup cocoa powder, sifted
1 tsp baking powder
1 tsp bicarbonate of soda

For the avocado frosting:
2 ripe avocados
4 tbsp cocoa powder, sifted
2 tbsp clear honey
a little almond milk, to loosen

  • Preheat the oven to 180°C/350°F/Gas 4 and line two 12-hole mini-muffin tins with paper cases.
  • Mix together the almond milk and vinegar in a large bowl and stir well, then leave to one side for a few
    minutes to curdle.
  • Beat in the sugar, oil, vanilla extract and almond extract, if using, and whisk until frothy.
  • In a separate bowl, mix together the flour, cocoa powder, baking powder and bicarbonate of soda.
  • Add the wet ingredients to the dry ingredients and mix together well.
  • Spoon the mixture into the prepared muffin tins, filling the sections three-quarters full. Bake for 10–12 minutes until a skewer inserted in the centre comes out clean. Transfer to a wire rack to cool.
  • To make the frosting, scoop out the avocado flesh into a small blender or food processor (or bowl and
    work with a hand-held blender).
  • Add the cocoa powder and honey and process until smooth, then gradually add a little almond milk, a drop at a time, until the mixture just begins to hold its shape.
  • Spoon the frosting into a piping bag fitted with a 1cm star nozzle and pipe the frosting onto the centre of the cakes in a nice high peak. (You don’t need to cover the entire surface as this would add too much icing and therefore too many calories.)
  • Peel back the paper and enjoy – the great thing is they are so mini you can eat two!


GuiltfreeBaking

Gee Charman

Guilt-Free Baking

£16.99 | available from Nourish Books

Sign up for our newsletter to get our new articles straight to your inbox every month


Grace Cheetham is the author of the internationally acclaimed The Best Gluten‐Free, Wheat‐Free &  Dairy‐Free Recipes and Untitled-1Simply Gluten‐Free & Dairy‐Free. Passionate about great food and allergy‐free living, she runs a website and a blog ‐ www.glutendairyfree.co.uk that has been voted one of the best gluten‐free and allergy‐friendly blogs by Channel4.com’s 4Food and one of the 100 best food blogs by womanandhome.com. Grace judges at the Great Taste Awards and Free‐From Food Awards and runs cookery demonstrations and classes.

Can you describe your book? What should the reader expect from it?
I’m so excited about this book. It’s the culmination of so many years of baking (my basic bread recipe, alone, took about 60 goes to get it absolutely perfect). And it’s jam-packed with treats and indulgences. From an amazing Sourdough Bread to Cinnamon Brioche Buns, from moreish Fennel Crackers to Millionaire’s Shortbread, from delicate Fondant Fancies to Chocolate & Beetroot Cake, from a show-stopper Crab & Dill Tart to Beef Wellington, or from delicious Lemon Tart to Passion Fruit & Coconut Cheesecake, there’s everything and, hopefully, more…

When did your passion for gluten-free cooking begin?
I grew up on free-from food. When I was young, the ingredients that were available were generally very restricted but now there’s such a wonderful array of different ingredients to choose from, and to experiment with. I started with fairly simple recipes but then, as more ingredients came onto the shelves, I tried more and more things. My favourite culinary moment from this book, I think, was when I made the Chocolate Profiteroles. They worked first time – and are heavenly. And you simply can’t tell that they’re gluten-free. It was the first time I’d had profiteroles for many, many years. Bliss!

What was the biggest challenge in writing The Best Gluten-Free and Dairy-Free Baking Recipes?
My biggest challenge, I think, was not eating all the cake! All over the summer months that I wrote the book, I invited friends and neighbours around to taste the bakes. I have a lovely memory of one sunny summer afternoon when we had five families – with all the adults sitting eating cake, cookies and cheesecake and drinking wine – and all the kids running around the garden.

What was the first gluten-free dish that you mastered?
Flourless Chocolate Cake, I think. And it taught me one hugely important lesson – the importance of beating or whisking cake ingredients really, really well, to get as much air as possible into the mixture. It makes all the difference to the end result.

What is the best gluten-free recipe to get started?
Try something that you really love. Maybe pizza or maybe chocolate brownies. Follow the recipe exactly, regardless of things like whether the mixture seems too runny compared to traditional baking. Put it in the oven, sit back and enjoy the anticipation!

What is the kitchen tool that is absolutely necessary for a gluten-free baking?
Probably kitchen scales or proper measuring cups. The balance of flours, in particular, is really important in gluten-free baking.

Can you tell us 3 kitchen hacks for a gluten free diet?
– Make up large batches of flour mixes. In this book, there are different flour mixes for Cakes, Biscuits, Breads and different types of Pastry. Different balances of types of flour plus grain/starch balances make a massive difference to the end result. And instead of making up the mixes every time you bake, it’s good to make up large batches and store them, ready for when you feel like baking.
– Keep your store cupboard and freezer stocked, especially with things like gluten-free breadcrumbs that you can keep in the freezer and use to coat chicken or fish from frozen.
– Share the dishes with your friends and family, rather than cooking/eating separate meals. It’s much more fun!

index
Grace Cheetham
The Best Gluten-Free and Dairy-Free Baking Recipes
ISBN: 9781848991996
Available from Nourish Books


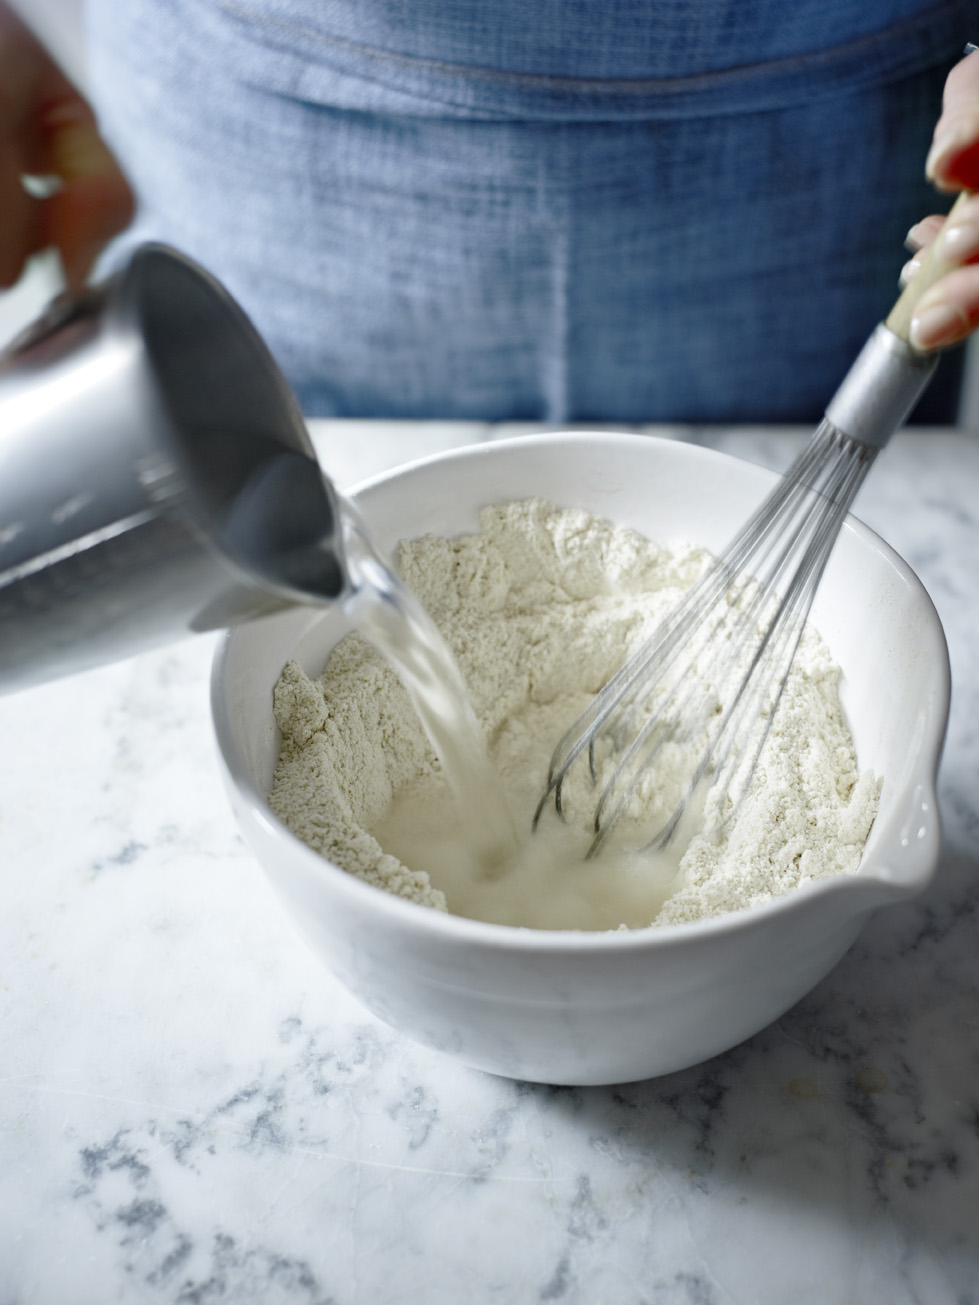
This article is an extract from The Best Gluten-Free and Dairy-Free Baking Recipes by Grace Cheetham.

Look around the free-from section of a health-food store or a large supermarket and you’ll find a large variety of gluten-free and dairy-free products. Food manufacturers are continually producing fantastic ingredients – all of which make it easier and easier to cook wonderful free-from food.

Flour Mixes
For baking, it’s a good idea to start with a selection of flours. I’ve created different flour mixes for different types of recipes, depending on the texture and amount of crunchiness or softness needed. In the Basic Recipes chapter, you’ll find different mixes for Flaky Pastry, Shortcrust Pastry, Sweet Shortcrust Pastry, Bread, Cakes and Biscuits. The pastry and bread mixes use sturdy flour combinations, so that they hold together well, whereas the Cake Mix produces a soft, moist texture, and the Biscuit Mix a crunchy one.
I’ve used brown rice flour in all of the mixes as it is a great base flour. It has a lovely taste and holds really well. When the mix needs a stronger flour base, I’ve used a combination of gram (chickpea) flour and maize flour. These are both great in terms of holding together and, while the gram flour has quite a strong taste, when it’s combined with maize flour that has a subtle, slightly sweet taste, it works really well. (For those who had stopped using gram flour because of the taste – trust me!).
It’s important to create a balance of grain flours and starch flours, depending on the type of recipe. The flours I’ve just mentioned are all grain flours. Starch flours work slightly differently, in that they tend to lighten the mix and give rise to the baking. For starches, I’ve generally used cornflour because it’s inexpensive and easy to find, has a very bland taste and gives a fantastic consistency. For bread, though, I’ve added potato flour as it helps create a moist, tender crumb texture, as well as a better rise.
I’ve added ground almonds to the Sweet Shortcrust Pastry – to make it sweeter, and help hold the pastry together – and to the Biscuit Mix, as it gives biscuits the crunchiness when baked.

I find the best thing to do is to make up large batches of the flour mixes and store them in my cupboard. Depending on the size(s) of your containers, you can make up double or triple quantities, if you’re planning to use a lot of the mix. (But bear in mind that the mix won’t keep forever.) Then it’s just a question of measuring out the required amount for the recipe you are about to make – and off you go…

Alternative Flours
I’ve used a couple of alternative flours within the recipes themselves. In the Oat & Molasses Bread, I’ve added gluten-free oats, to add a sweetness and strong texture. Gluten-free oats are a brilliant ingredient, and it’s easy to make them into a flour by blending them in a food processor. For the Corn Tortillas, I’ve used masa harina, as this finely milled version of maize flour is the only one that works for tortillas. And for the Paleo Bread (grain-free bread), I’ve used coconut flour. Coconut flour is incredibly nutritious, is very filling as it is high in fibre, protein and (good) fat, and is grain-free. It works fantastically well as a flour, although you need to use less of it (a third to half of the recipe quantity and possibly more liquid) because it soaks up more liquid than other flours). But it is expensive – which is why I haven’t used it throughout the book.
There are many other flours that you can use as alternatives, but I wanted to keep the list of ingredients as simple and accessible as possible, and because I think these mixes work the best. Other flours commonly used are buckwheat, millet, teff, quinoa and soya. Other starches available are tapioca and white rice flour. Personally, I find the taste of buckwheat flour too strong, and it is a very heavy flour so it doesn’t rise well. Millet tends to be bitter, teff has a strong taste, too, and it is expensive and hard to get hold of. Quinoa flour also has a very strong taste, although if you can mask the flavour, it is extremely nutritious. Soya flour is probably my least favourite flour as it doesn’t hold well or give a good rise, or taste particularly good. I’m also not keen on tapioca starch as I find it gives a metallic aftertaste, and I know many people are intolerant to it.
But all of these options at least give you that – the option to change the ingredients that you’re using if you decide you prefer another one, or if you need to expand your ingredients list (perhaps if you’re following a rotation diet). If you decide to alter any of the mixes, you can simply substitute a similar flour in the same quantities as those in the mix.

The beauty of making gluten-free bread is that you often don’t have to knead, knock back or leave to prove. You can usually mix the ingredients together, whisk in some water – and bake immediately.

Bread Mix
150g/5½oz/heaped ¾ cup brown rice flour; 60g/2¼oz/⅓ cup potato flour; 60g/2¼oz/½ cup cornflour; 50g/1¾oz/scant ½ cup gram (chickpea) flour; 50g/1¾oz/⅓ cup maize flour; 1 tsp xanthan gum

1. Sift the flours and xanthan gum into a large mixing bowl and mix together.

Olive & Rosemary Focaccia1-Olive & Rosemary Focaccia-1

4 tbsp olive oil, plus extra for greasing; 370g/13oz/2¾ cups Bread Mix ; ½ tsp salt; 1 tbsp dried active yeast; 100g/3½oz/heaped ½ cup good-quality black olives, pitted and chopped; 1 handful of rosemary leaves, chopped, plus extra for sprinkling; sea salt, for sprinkling1 tbsp dried active yeast

1. Preheat the oven to 200°C/400°F/gas 6 and lightly grease a 20cm/8in round cake tin with olive oil.

2. Put the bread mix, salt and yeast in a large mixing bowl and mix together thoroughly. Add the olives, half of the rosemary and
3 tablespoons of the oil and mix in. Pour in 375ml/13fl oz/1½ cups warm water and, using a metal whisk, beat vigorously for 1–2 minutes to aerate the dough. Beat until the dough holds some shape, but is still soft enough to fall from the whisk, adding 1 or 2 extra tablespoons of warm water if it feels too stiff.

3. Spoon the dough into the prepared tin and level the surface with the back of a metal spoon. Wash the spoon clean and dip it in cold water, then smooth the surface of the dough with the back of the wet spoon, repeating to cover the whole area. Drizzle the remaining oil over the top, then sprinkle with rosemary and salt.

4. Bake for 45–50 minutes, or until the bread is golden brown and sounds hollow when turned out of the tin and tapped on the base. Transfer to a wire rack and leave to cool.

1005_original-300x413

Grace Cheetham
The Best Gluten-Free and Dairy-Free Baking Recipes
Available from Nourish Books