
Courgette, mushroom & truffle oil pizza
We are getting stuck right into #Veganuary2021 with this delicious, veggie-filled pizza from Virtually Vegan by


We are getting stuck right into #Veganuary2021 with this delicious, veggie-filled pizza from Virtually Vegan by
This season of The Great British Bake Off might be over but (!) we’re still
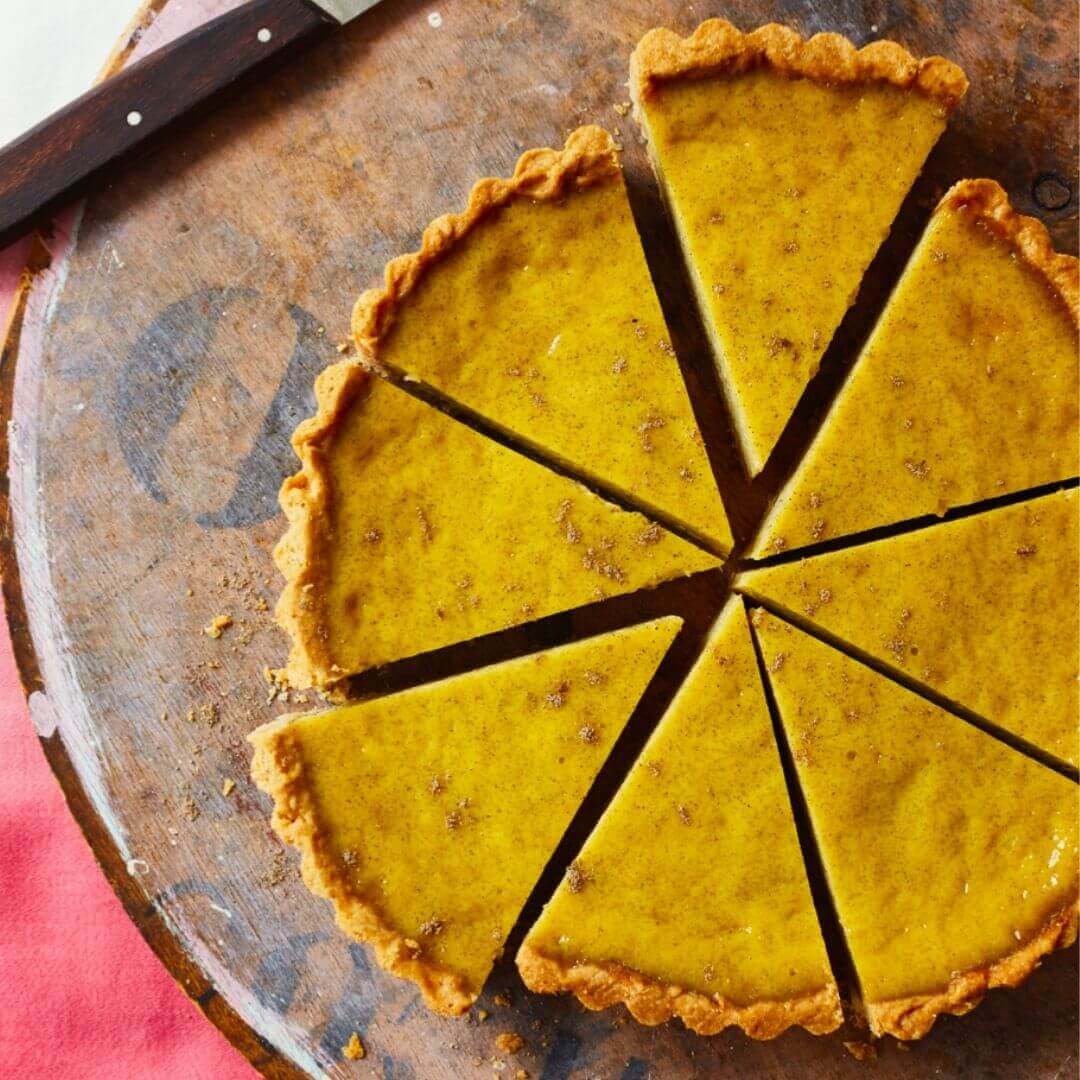
A very Happy (almost) Thanksgiving to our American followers! If you’re on the lookout for

Attention all HallowQueens and PumpKings: Our sister imprint, Watkins Publishing, published the ultimate spooky season

Attention all HallowQueens and PumpKings: Our sister imprint, Watkins Publishing, published the ultimate spooky season

Attention all HallowQueens and PumpKings: Our sister imprint, Watkins Publishing, published the ultimate spooky season
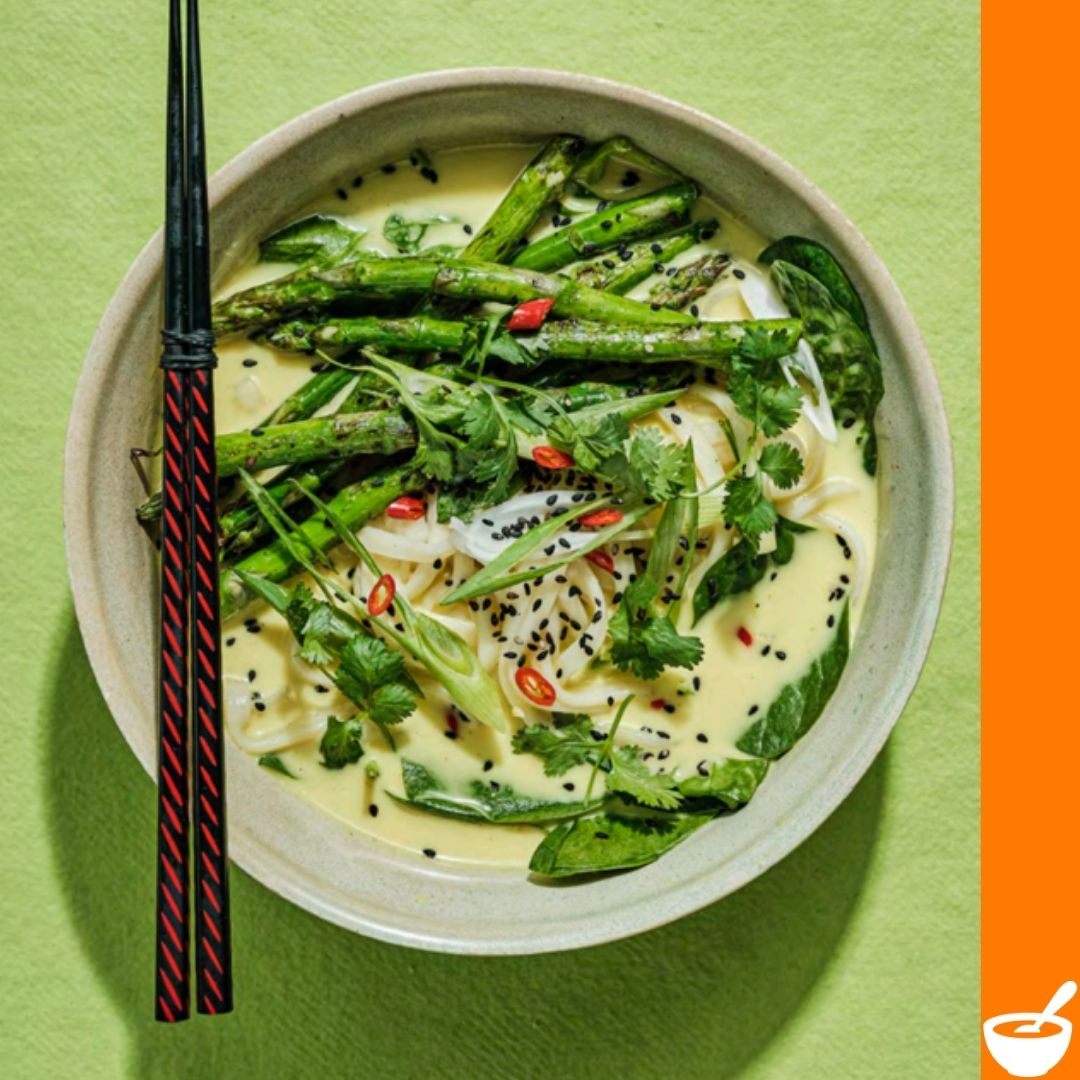
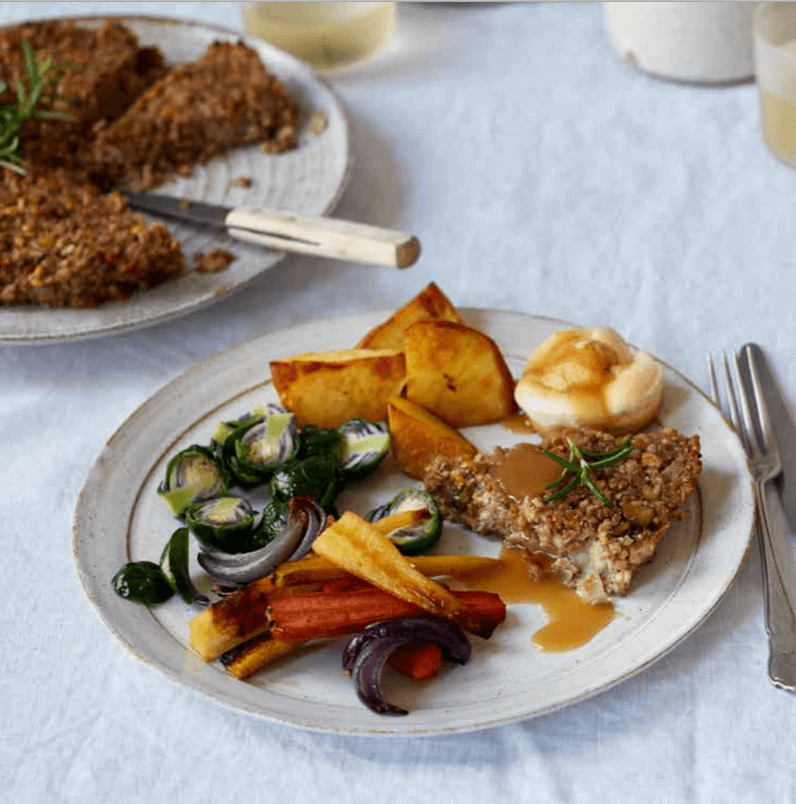
Light, bright and nourishing! This wholesome recipe was taken from The Part-Time Vegetarian’s Year by

In celebration of #VegetarianAwarenessMonth this October, we are sharing some of our most-hearted veggie friendly
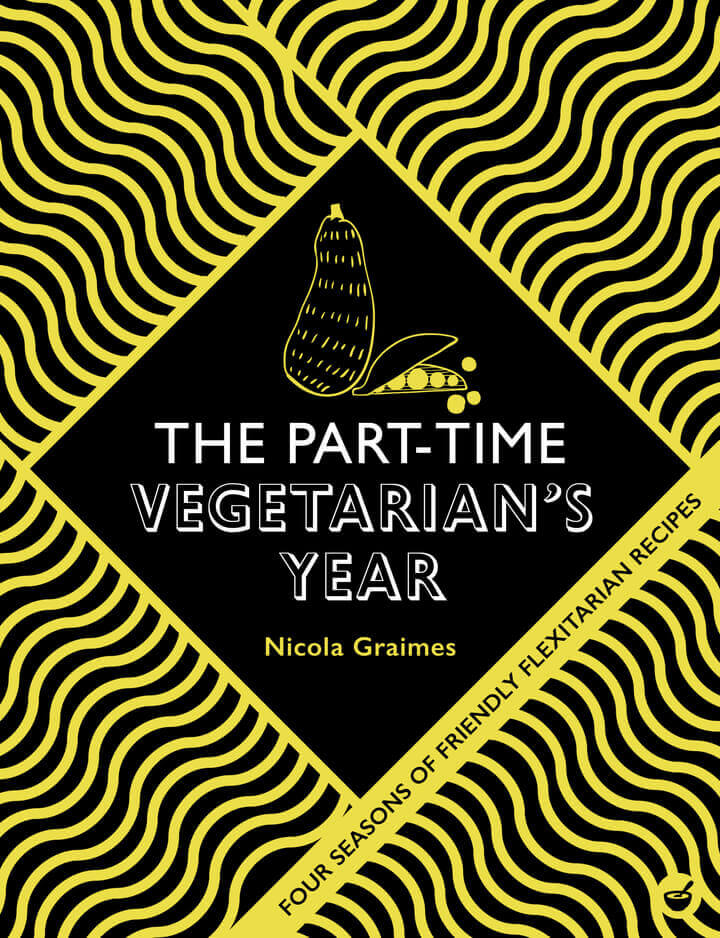
The Part-Time Vegetarian’s Year by Nicola Graimes is available to buy NOW! – How things have

Welcome to #SourdoughSeptember! We’re so excited to join the 2020 #LockdownLoafers in baking and creating

In honour of this very #HappyMonday we thought we’d share a special Middle-Eastern inspired recipe
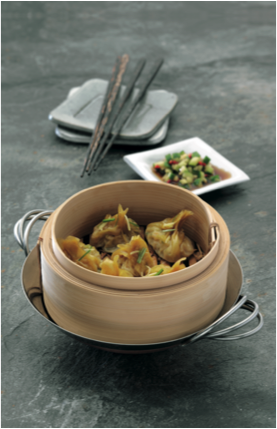
From steaming to stir frying, deep-frying to braising and even smoking, I Love My Wok will show
